


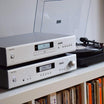
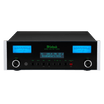


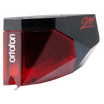


In the ever-evolving world of music formats (where many have come & gone), the charm of vinyl records has managed to endure the test of time. In fact, endure doesn't give enough credit, vinyl has been surging in popularity in recent years.
Aside from having an unmatched aesthetic & being 'on trend', the resurgence of vinyl popularity is largely due to its unparalleled audio quality & clarity. For true music lovers, this stands in direct opposition to digital formats that generally compromise sound quality for user convenience by reducing & compressing tracks.
It's undeniable - the vinyl format does require a bit more time & maintenance than your average streaming service, however, the trade-off is well & truly worth it in our opinion.
One of the most important aspects of keeping your record collection in top shape is knowing the ins & outs of how to clean your records without damaging them. This is an important task but not necessarily a difficult one if you have the right equipment & a bit of guidance.
Whether you're a seasoned collector or a curious newcomer to the world of vinyl, this guide will provide you with a thorough understanding of the best practices for cleaning your records to protect your turntable, get the best sound quality possible & ensure your collection remains in great shape for years to come.
Let's dive in.
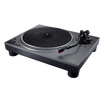
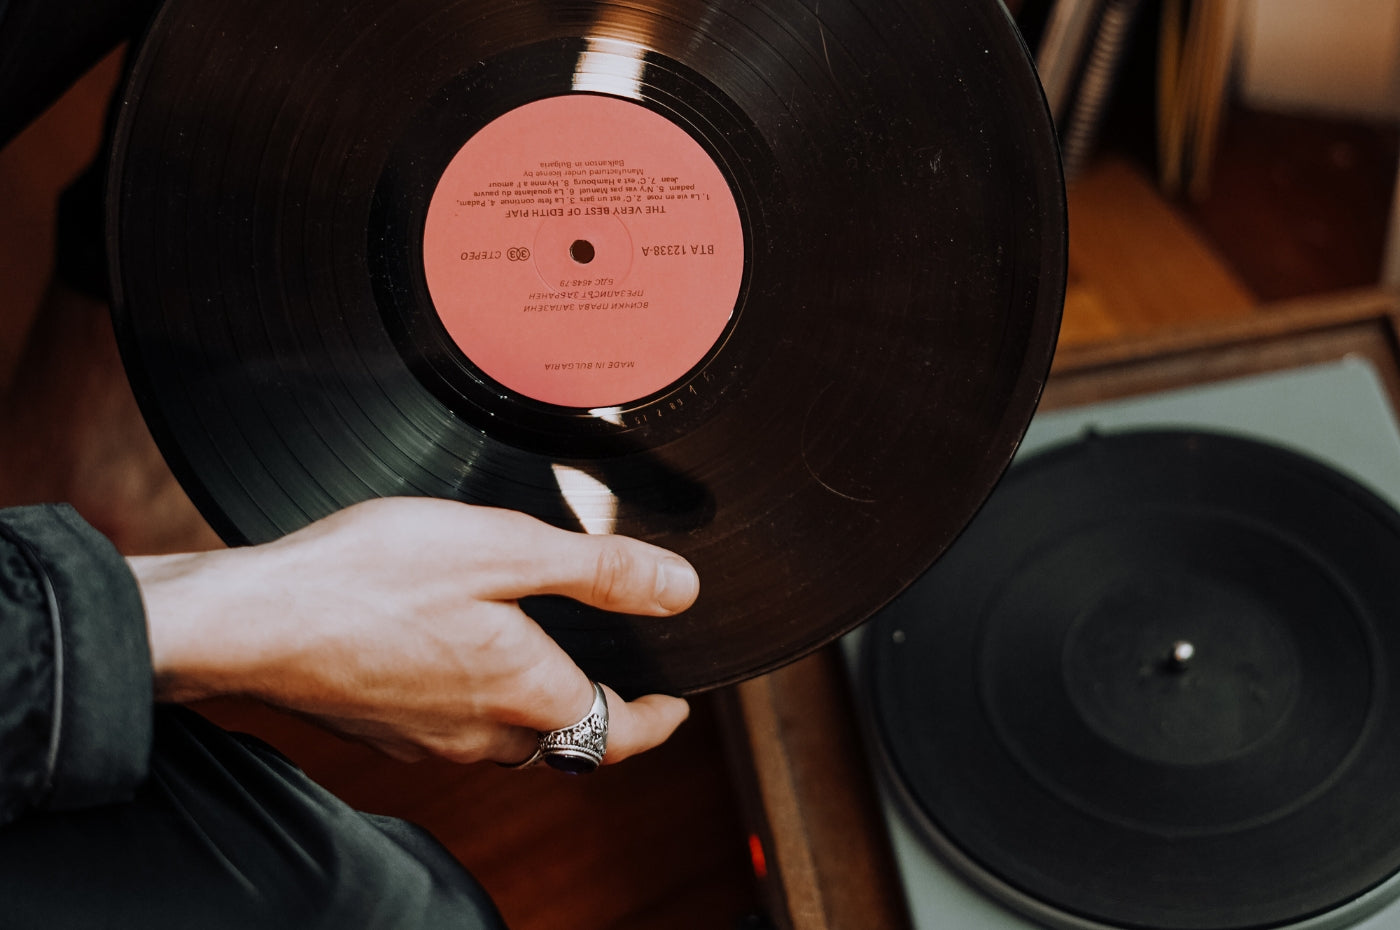
 The best way to clean vinyl records without damaging them.
The fuzzy, popping & crackling interference that comes with a dirty record is enough to give you goosebumps, & not the good kind. It's basically your record player screaming out for help.
Luckily, addressing this cry for help doesn't have to be a difficult task - & with the right equipment on hand, it shouldn't take you long at all.
This is the method we use at Living Entertainment North Coast to ensure our record collection is as clean as can be.

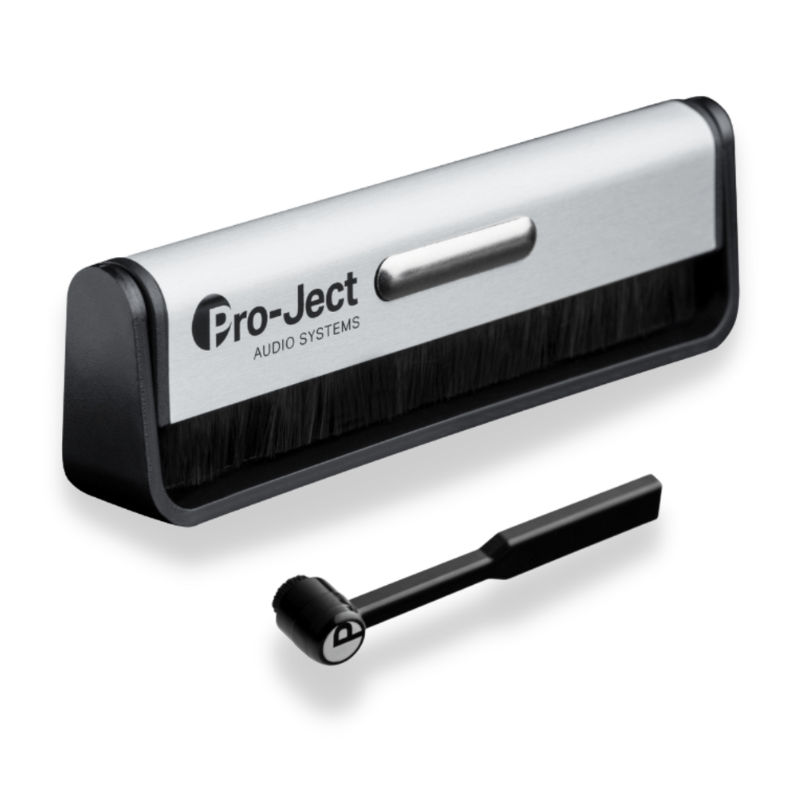
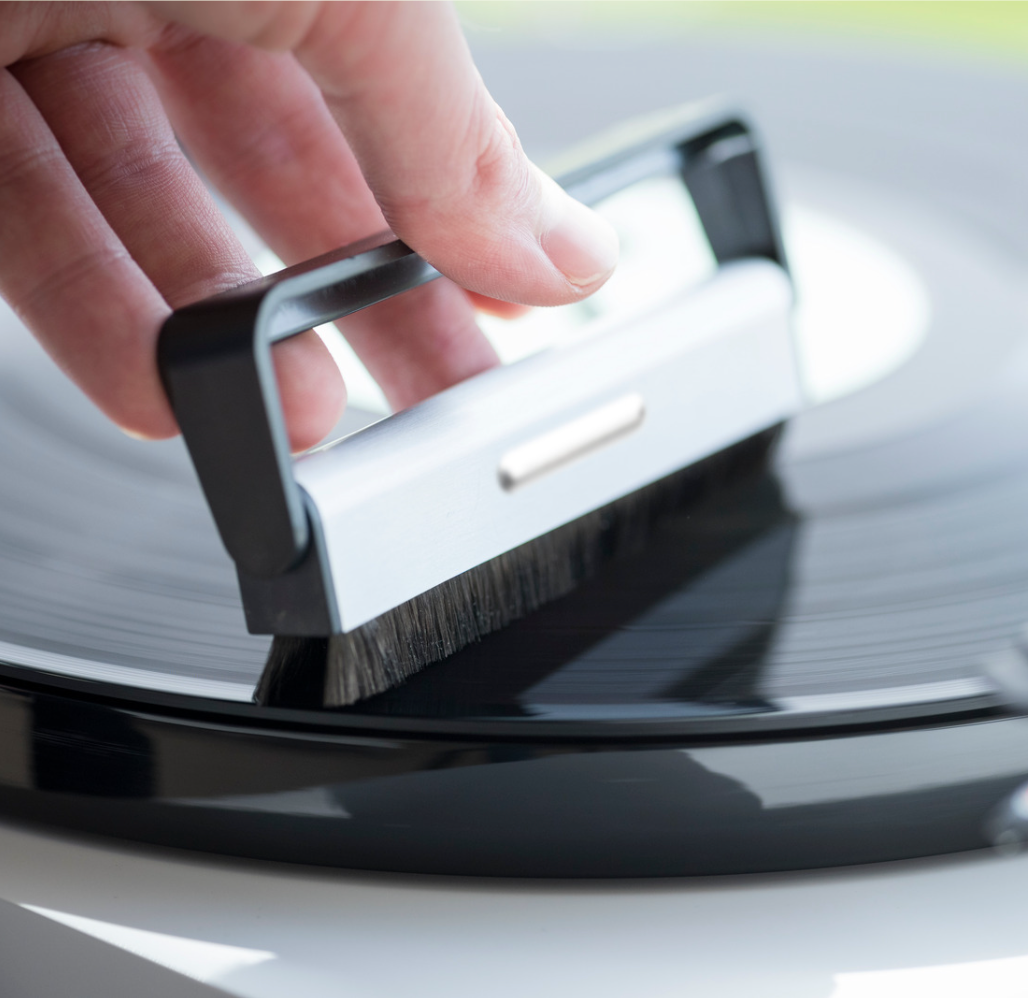
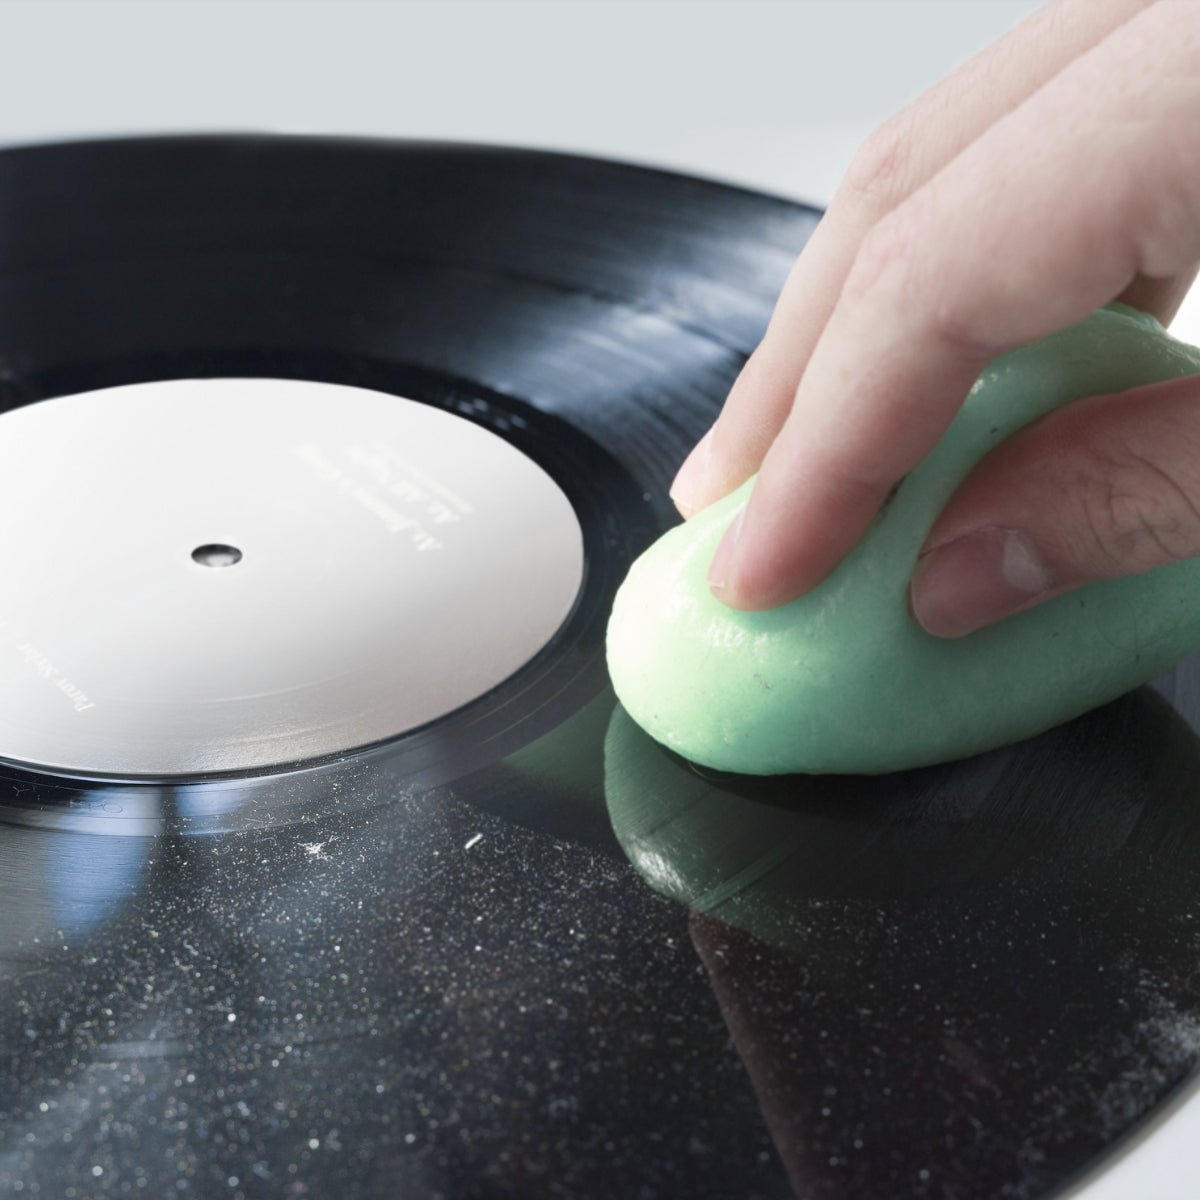
Step 1: A quick sweep with an anti-static brush
A good quality anti-static brush is inexpensive & should be the 'daily driver' of your vinyl cleaning routine. A few quick swipes of the brush will remove any loose dust & debris that might be sitting on the surface of the record.
This will save you from the dreaded 'dust pops' & also stop the dust from bedding into the grooves of your record & collecting on your stylus - causing more serious cleaning headaches in the future.
How often? Use the anti-static brush every time you play a record. It takes less than 10 seconds & is well worth it.

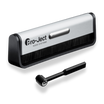
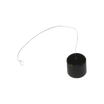
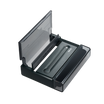
Step 2: Clean your stylus
As with the anti-static brush, a stylus cleaning brush is inexpensive & very effective. It's a specialised & delicate tool that will remove dust & loosely set grime that your stylus may have picked up from your records, or simply by sitting too long.
A record needle is a sensitive bit of gear though, so you'll need to be much more gentle & precise with the stylus cleaning brush than you are with the record sweep.
If your stylus is carrying a bit more than loose dust & has built up some hard grime, you may need a brush & fluid combination pack to give it a deeper clean. Ensure you purchase a verified product that uses a purpose-designed cleaning solution.
How often? As often as you see dust or grime gathering on the stylus.
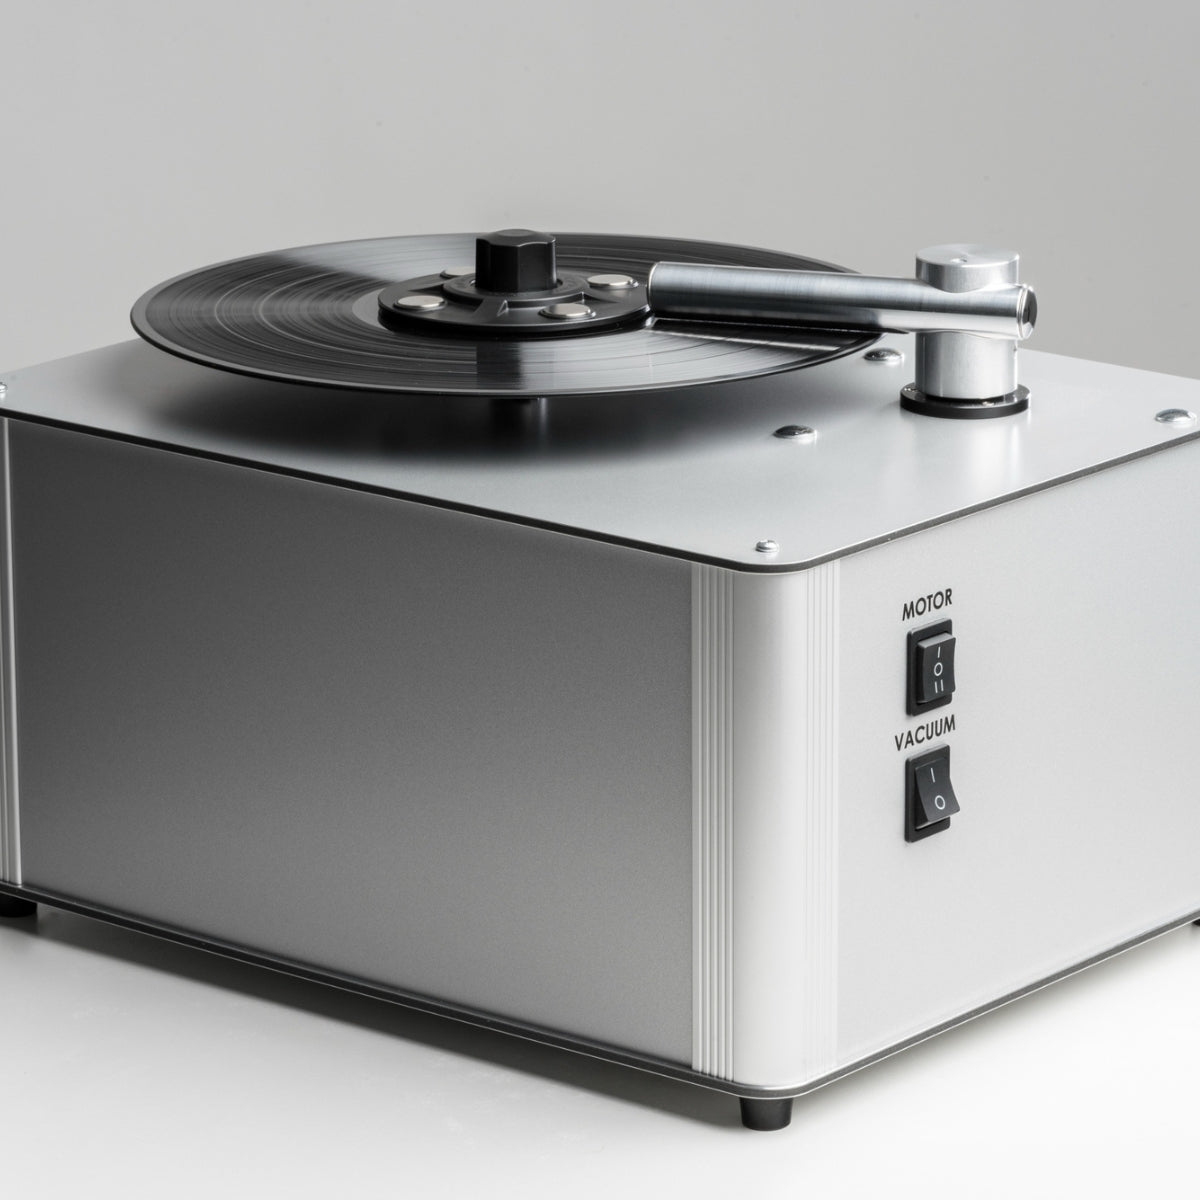
Step 3: Deep cleaning your records
If you've had the smarts to hang on to your vinyl record collection for the last few decades (fully knowing they'd be back with a vengeance), then they're probably due for a deep clean. Nothing beds in dirt & grime like father time.
Deep cleaning your records requires more than a quick sweep of the brush, you'll need to gather some equipment & put aside some time to do it properly.
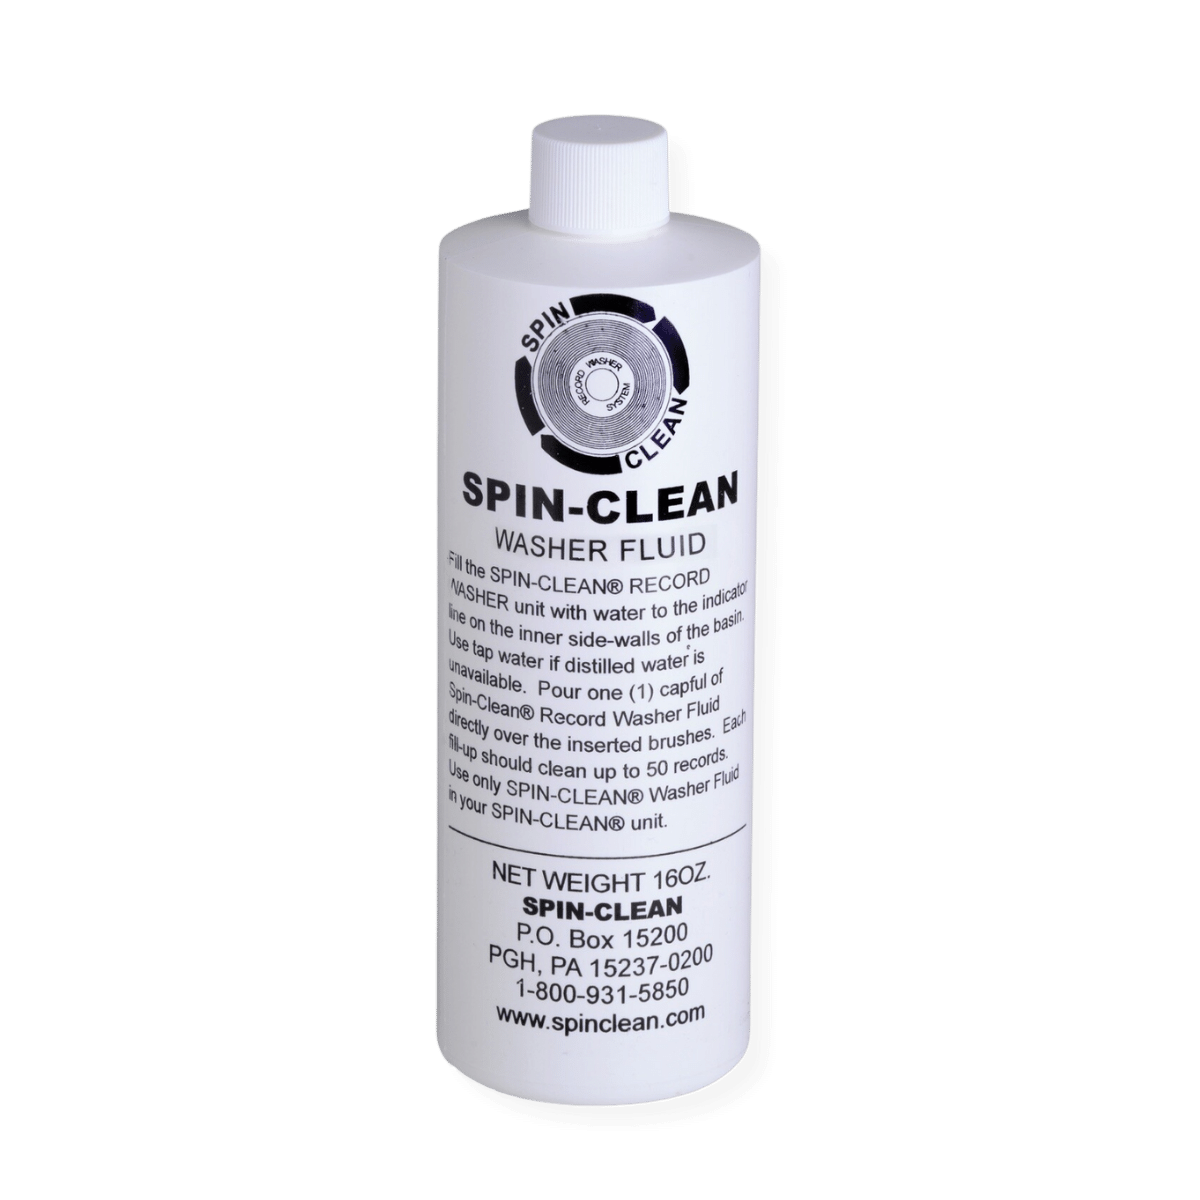
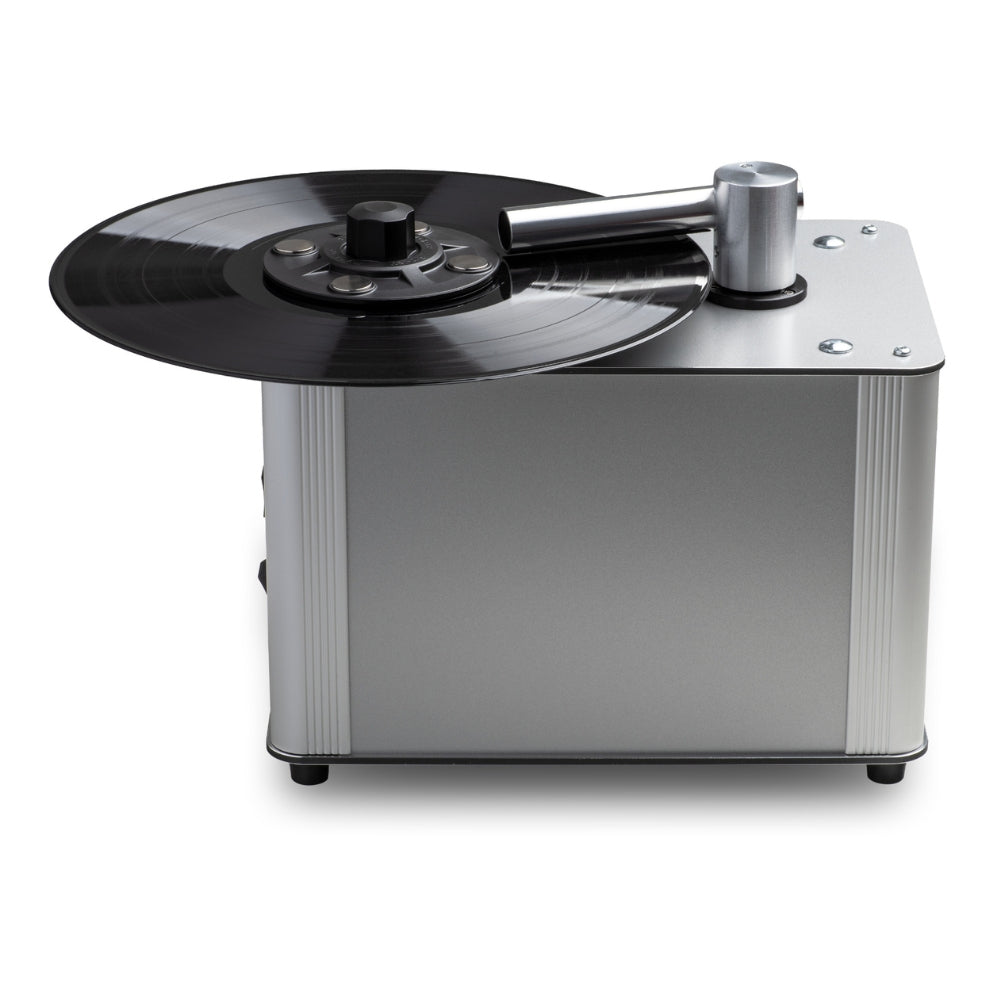
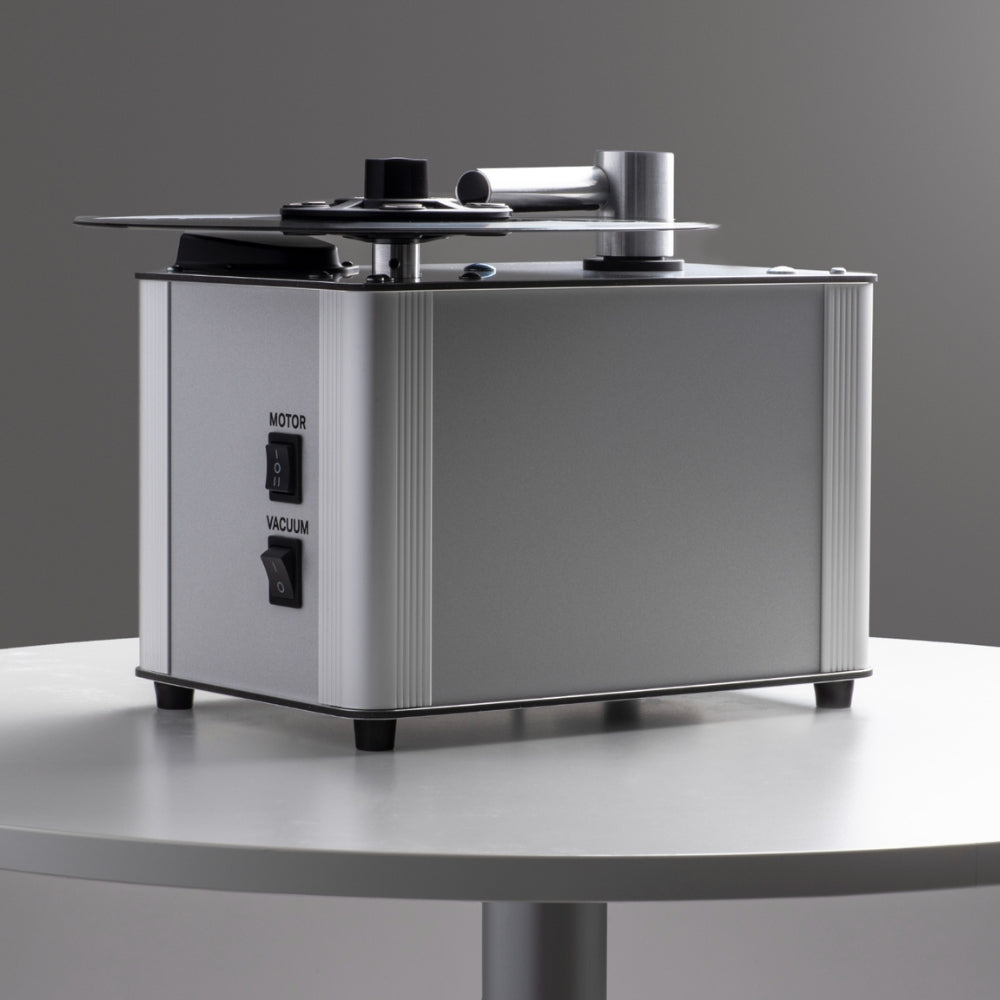
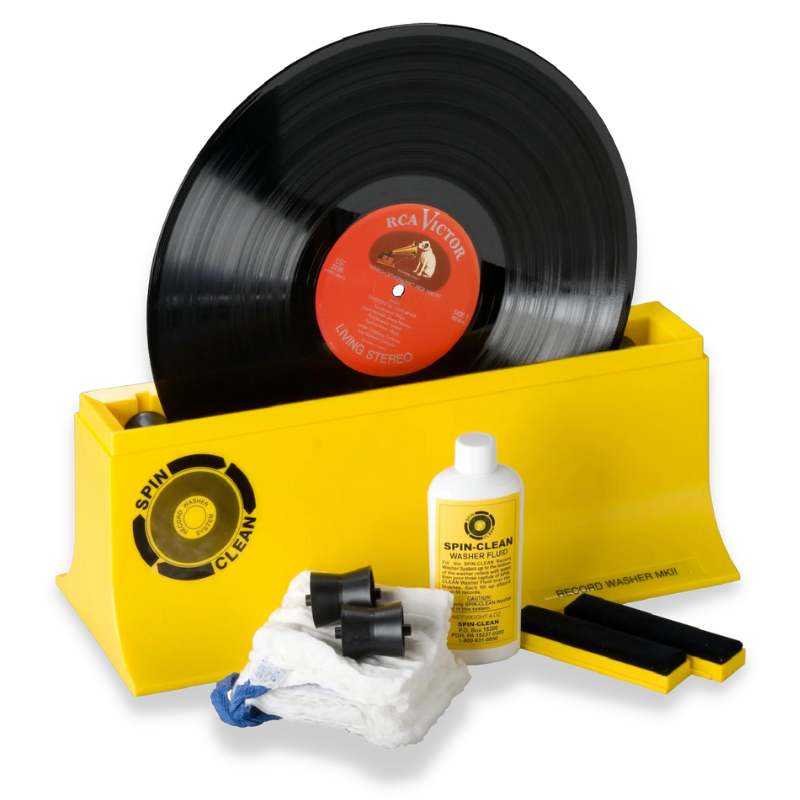
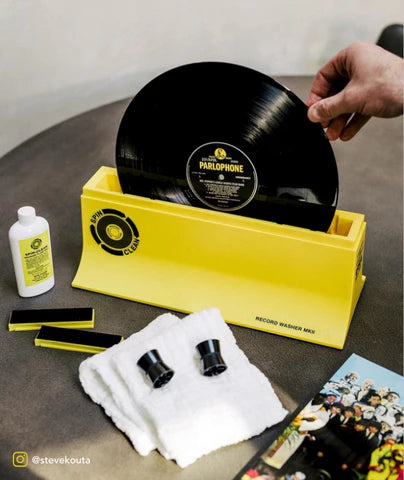
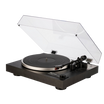
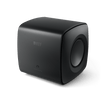
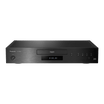
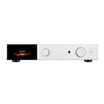
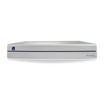
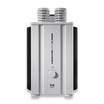
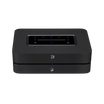
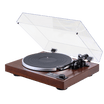
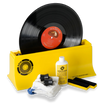
There are some great record-cleaning machines (such as the ever-popular Spin Clean or Pro-Ject VC-E) that will help you to get the job done quickly, safely & efficiently - however, if you're a DIY buff & have a bit more time on your hands, you can get it done with good old fashioned elbow grease.

Here is a general step-by-step procedure you can follow if you want to clean a record by hand:
Gather the necessary supplies:
- Distilled water
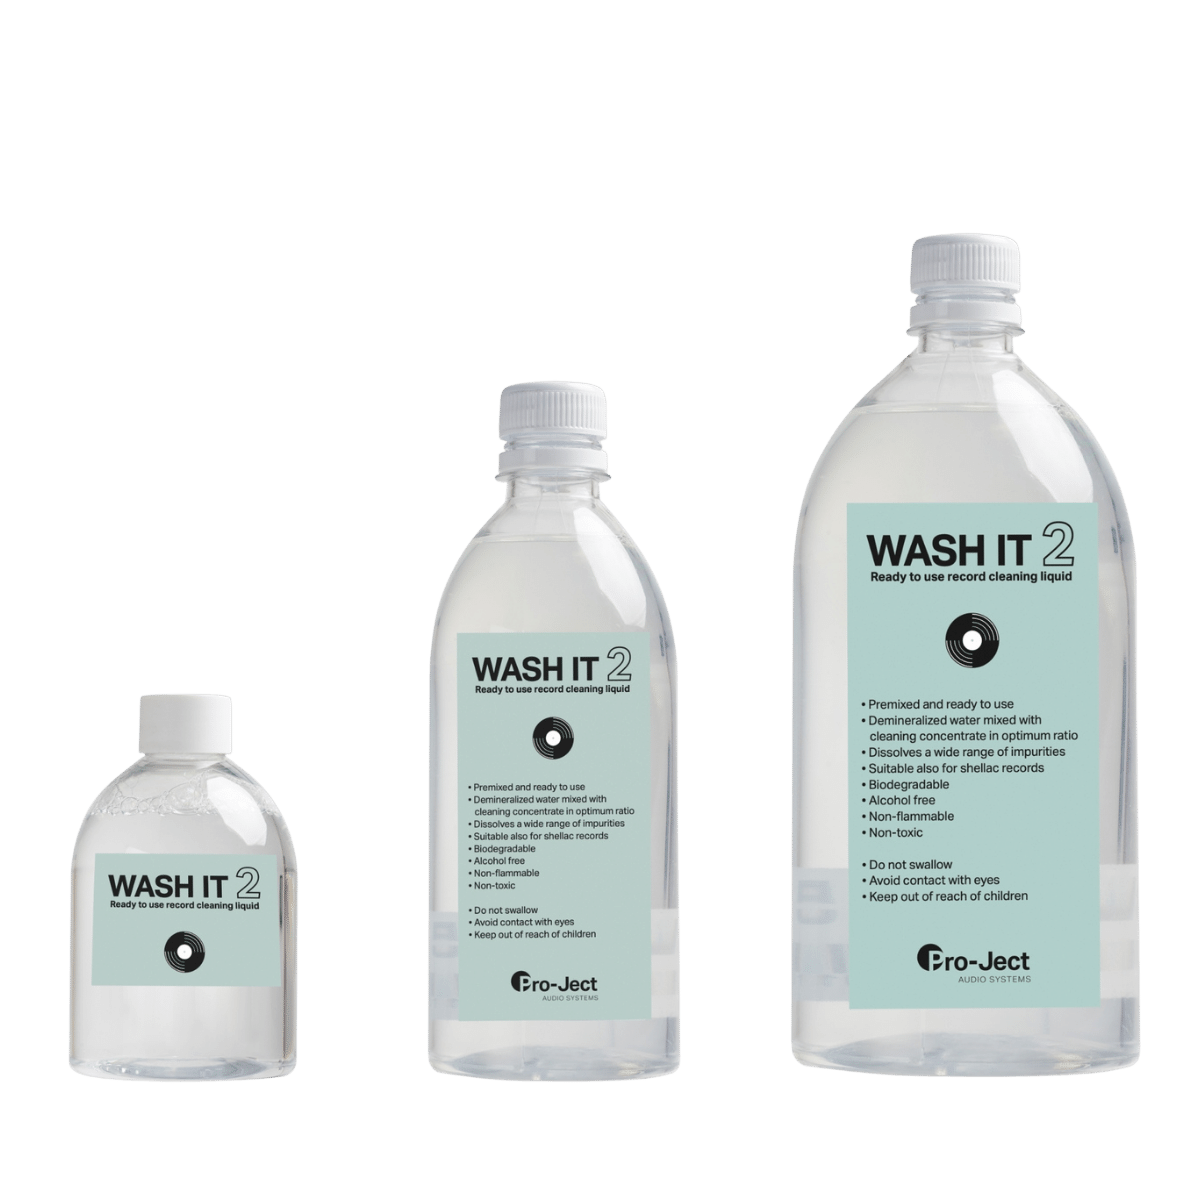
- Record cleaning solution (either store-bought or homemade)
- Two soft, lint-free microfiber cloths
- A soft, anti-static record-cleaning brush
- A bowl or small container (for the cleaning solution)
- A bowl or small container (for distilled water)
- A drying rack or dish rack (optional)
Prepare your cleaning area:
- Set up your cleaning area on a clean, flat surface, away from direct sunlight or heat sources.
- Pour a small amount of record cleaning solution into one container & distilled water into the other container.
Wet the record cleaning brush:
- Dip the brush in the cleaning solution, then gently shake off any excess liquid.
Apply the cleaning solution to the record:
- Holding the record by the edges, place it on a flat surface.
- Gently press the wet brush onto the record's surface, & follow the grooves in a circular motion, starting from the outer edge & working your way inwards. Apply even pressure & avoid scrubbing too hard.
Rinse the record:
- Dip a microfibre cloth in the distilled water, & gently wipe the record's surface in a circular motion, following the grooves.
- Use the other microfibre cloth to remove any excess water from the record.
Dry the record:
- Place the record on a drying rack or dish rack & allow it to air dry completely. Alternatively, you can hold the record by the edges & gently wave it in the air to speed up the drying process.
- Ensure that the record is completely dry before storing or playing it.
Clean the other side:
- Repeat steps 4-6 for the other side of the record.
Store the record properly:
- Once both sides are clean & dry, store the record in a clean inner sleeve & an outer protective sleeve to prevent dust & dirt buildup.
There you have it. A comprehensive method to help you clean your vinyl so you can keep your kit in top condition & get the best sound possible for as long as possible.

The bottom line
Proper care & maintenance of your vinyl records is crucial for preserving their sound quality & longevity.
By implementing safe, quick, & effective cleaning methods, such as carbon fibre brushes, specialised cleaning solutions, & record cleaning machines like the Spin Clean or Pro-Ject VC-E, you can ensure that your beloved vinyl collection remains in pristine condition for years to come.
If you have any questions at all about cleaning your records, or anything else Hi-Fi for that matter, don't hesitate to reach out to the LENC team so we can lend a hand.

Record Cleaning FAQs
Hopefully, we've covered everything for you above - but just to make sure there are no gaps, here is a quick FAQ section to finish off.
Why do I even need to clean my vinyl records?
Regular cleaning of your vinyl records is essential to maintain their sound quality & longevity. Over time, dust, dirt, & other contaminants can accumulate in the grooves of your records, resulting in unwanted noise, decreased audio fidelity, & potential damage to both the record & your stylus. Cleaning your records not only helps to remove these impurities but also reduces wear on your turntable's needle & ensures a smoother, more enjoyable listening experience.
How often should I clean my vinyl records?
Generally speaking - give every record a gentle dusting with a brush to remove surface dust & static before every play, while a deeper clean using a record cleaning machine should be done every 15-20 plays - or whenever you notice a build-up of grime or excessive noise during playback.
The frequency of cleaning will vary depending on factors such as the environment (e.g. dust & humidity), the condition of the records & the quality of your playback system.
What should I clean my vinyl records with?
As mentioned above, you can technically clean a record with microfibre cloths & homemade cleaning solutions - however, we've seen a number of people do more harm than good by going down this path. We recommend spending a little upfront to save a lot in the long run & get yourself something like the Spin Clean MKII. It will not only save you a lot of time & fiddling around, but will also do a top-level job without running the risk of damaging your vinyl.
Can I make my own homemade record cleaner?
You can, however, as discussed above - you will likely get better results & run less risk of damage by using a dedicated record cleaning machine. If you're in a fix though & desperate for some clean records - a simple yet effective cleaner, can be mixed from one part 70% isopropyl alcohol (also known as rubbing alcohol) with nine parts distilled water.
Adding a few drops of a surfactant, such as Kodak Photo-Flo or a mild dish soap free of additives, can further improve the cleaning efficacy by reducing the surface tension of the solution.
Be cautious not to use an alcohol concentration higher than 70%, as it may damage the record's grooves over time.